Showing posts with label bread. Show all posts

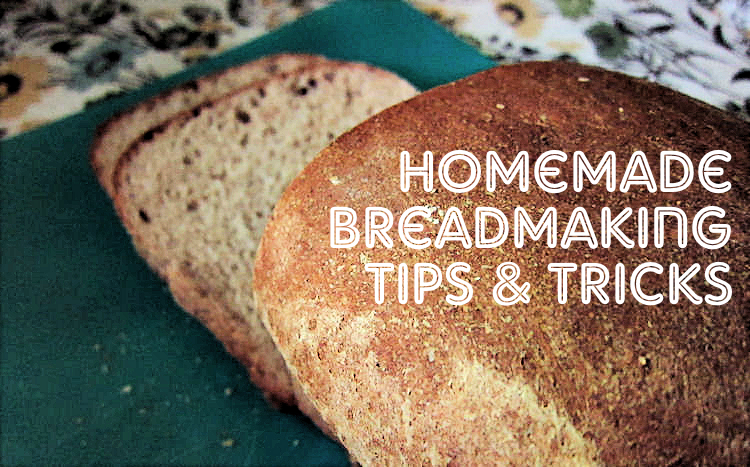
Homemade Breadmaking Tips & Tricks


I’ve been making my own bread in a bread machine once or twice every week for the past few months, so I’ve learned quite a lot along the way about how to make a good loaf, each and every time. If you want to try to my recipe to make your own whole-wheat sandwich bread, here are some tips and tricks that you'll find handy:

If you don’t have bread flour, make your own! You can mix up some of your own bread flour by adding a tablespoon of "vital wheat gluten" (found in the baking aisle, usually on a high shelf) to one cup of all-purpose flour.

If you don’t have an egg, there’s a substitute for that, too. I learned this from my Food Substitutions Bible: Instead of using an egg in bread recipes, you can swap in 3 tablespoons of water plus 3 tablespoons of ground flax seed along with 1/8 teaspoon of baking powder. If you do try this substitution, I’d suggest you keep a close eye on the dough as it’s mixing up, because I often find that it gets too clumpy and sometimes I have to add extra water (a couple of tablespoons) to help it along.

Let liquids warm up to room temperature if possible. I don’t always do this and my bread still turns out fine, but the bread-machine recipe book I use recommends it.

Keep an eye on the bread dough. Even if you don’t substitute an egg, you’ll want to keep an eye on the bread dough at least while it’s first mixing to make sure you don’t have to add any extra water. Depending on what kinds of other ingredients you use, you might need to add some. Just add a little bit at a time until the dough mixes easily, and you’ll be fine!

Ensure your loaf won’t stick to the bread pan. Spray the inside of your bread pan with non-stick spray (with your Misto if you have one!) before adding your dough. Once it’s baked, you’ll thank yourself when it slides right out without a struggle.

The cheater’s method to let your bread dough rise. When your bread recipe calls for leaving the dough in a warm place to rise, an easy way to do so is by turning your oven on to its “Warm” setting. Pop the dough in there (covered with a dish towel or cloth napkin) and let it warm for one minute. Turn the oven off and let the dough sit in there for the duration of time.

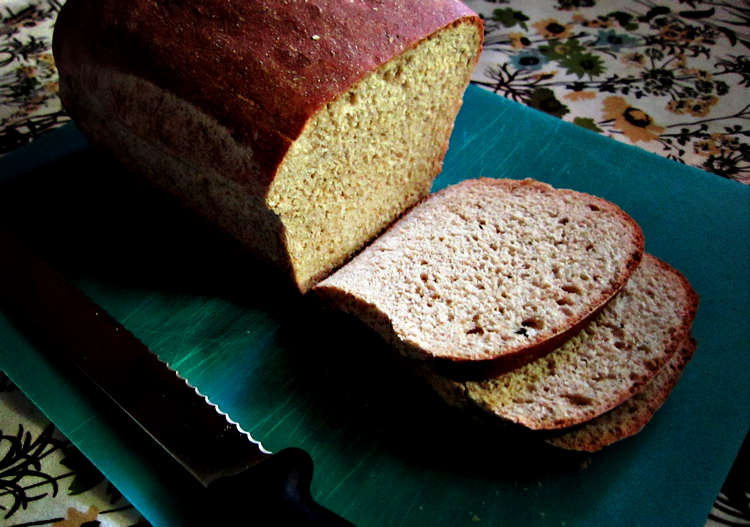
A good bread knife will save you so much headache. The first time I tried making bread, I used the bread knife that came with my cheapo knife set. Big mistake: The slices were ragged and ripped, not suitable for making sandwiches. But then I upgraded to a nicer knife (the 8-inch bread knife by Victorinox, $22 from Amazon), and ever since, I’ve been able to cut up loaves and shed only a few crumbs.

Homemade bread doesn’t have preservatives, so store it appropriately. Depending on how fast you go through your bread, you might consider keeping it in the fridge, which is what I do, to make sure it doesn’t go stale before we’re finished with a loaf. You can also pop it in the freezer and defrost it later; you won’t even be able to tell the difference!

Related Posts
Recipe to Make Your Own Whole-Wheat Sandwich Bread with a Breadmaker
I Made Bagels (Recipe Included!)
READ FULL POST >>

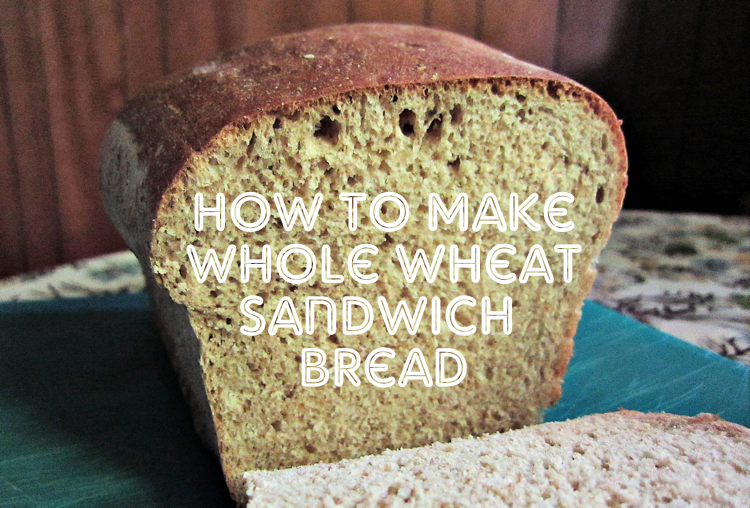
How to Make Your Own Whole Wheat Sandwich Bread


At some point, when I was making my own hamburger buns and bagels, I decided to try out making my own bread. I wasn't really sure what would come of it, whether it would really be good enough to replace our weekly allotment of Arnold's Bread loaves or whether I could get the slices thin enough to slather on peanut butter and jelly. But, pleasantly, I was surprised.

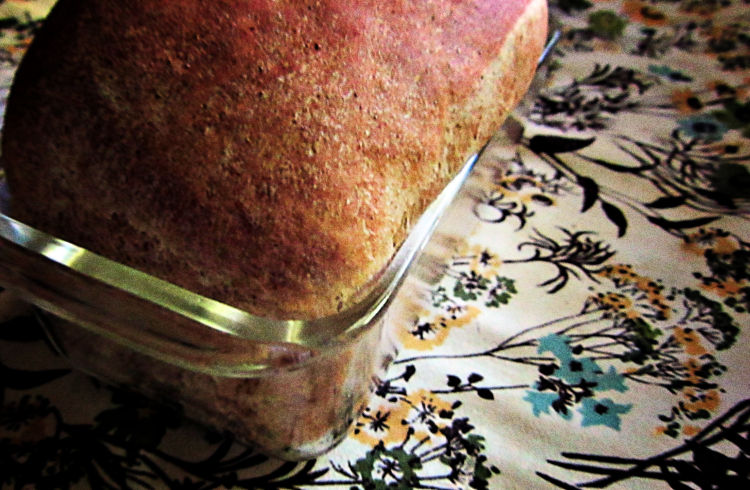
The loaf came out golden and crusty—even shaped like storebought bread. And once I sliced it, toasted it, topped it butter and jam, it was no different than the kind we kept in our pantry. Except that it was better—as evidenced by the fact that we actually enjoy having the heel of the loaf as morning toast. To boot, it's surprisingly cheap and super easy to make, thanks to my bread maker.


Needless to say, it's been months since I've bought a loaf of bread from the store. Instead, now my cart will have a bag of flour or a carton of yeast. And once or twice a week, you'll find me in the kitchen, pulling a new loaf of wheat bread, fresh from the oven.

Want to try your hand at making your own sandwich bread, too? Find my whole wheat bread recipe below, and then check out my post devoted to breadmaking tips and tricks that I've picked up along the way.


Recipe to Make Your Own Whole Wheat Sandwich Bread with a Bread Maker

Ingredients
⅝ cup warm-ish water
⅜ cup milk
1 egg
1½ tablespoons canola oil
1½ tablespoons honey
1½ teaspoons salt
1½ cups whole wheat flour
1½ cups bread flour (if you don't have bread flour, check out my breadmaking tips for an easy substitution)
2 teaspoons bread machine yeast


Instructions
  1. In your bread machine (mine is similar to this one), add ingredients from the water to the flours, in the order given in the recipe. (So, you'll add the water first and the bread flour last.)
  2. Once you've added the last of the flour, use a spoon to hollow out a little dent in the middle of the flour. Into this, add your yeast.
  3. Program your bread machine on the "Dough" cycle. Press Start.
  4. Let the bread machine mix the dough and go through the rising cycle. At the end, it will beep.
  5. Prep a loaf pan by spraying it with non-stick spray.
  6. Remove the ball of dough from the bread machine's pan, and put into the loaf pan. Press it down a bit so that it flattens to fit the shape of the dish.
  7. Put a cotton dish towel over the dish, and set in a warm place to rise for an hour. After an hour, it should have about doubled in size. (For an easy way to let your bread rise, read my breadmaking tips and tricks article.)
  8. Turn your oven on to bake at 350-degrees. Remove the dish towel from the dough, and let it bake in the oven for about 20 to 25 minutes, until golden.
  9. Remove from oven and let cool. 
  10. Once cool, cut into slices. Store slices in a sealed bag or airtight container for up to a week. (You can also keep the loaf in the fridge.)
Recipe makes one medium-sized loaf of wheat bread.
Related Posts 
Homemade Breadmaking Tips & Tricks
Recipe for Making Homemade Bagels in a Bread Maker
READ FULL POST >>

Soft and Chewy Homemade Bagel Recipe


I mentioned awhile ago, that I've been doing some experimenting with my bread machine. Well, I am happy to report that I had an astonishing bit of success making something I would have expected to be a disaster: homemade bagels!

I'm pleased that the first batch turned out just like how you'd expect, golden and crunchy on the outside, soft on the inside. Perfect, with a little dab of butter.

(You might be interested to know that the trick to making them involves boiling a big pot of water and dropping the dough in there for a minute before baking them in the oven. Who knew?!)

See? I'm learning! And feeling very encouraged, culinarily-speaking. Maybe next time I'll put on a little apron and heels to feel every bit June Cleaver-ish...

Bread Machine Bagel Recipe
1 cup warm water
1 1/2 teaspoons salt
2 tablespoons sugar
3 cups bread flour
2 1/4 teaspoons active dry yeast
3 quarts boiling water
3 tablespoons white sugar
1 tablespoon cornmeal
1 egg white
  1. Place 1 cup of warm water, salt, 2 tablespoons sugar, flour and yeast in the bread machine pan in the order recommended by the manufacturer. Select Dough setting and press start. (By the way, here's the newest version of the bread machine I use.)
  2. When cycle is complete, let dough rest on a lightly floured surface. Meanwhile, in a large stock pot, bring 3 quarts of water to a boil. Stir in 3 tablespoons of white sugar.
    Cut dough into 9 equal pieces, and roll each piece into a small ball. Flatten balls. Poke a hole in the middle of each with your thumb. Twirl the dough on your finger to enlarge the hole, and to even the dough around the hole.
  3. Cover bagels with a clean cloth and let rest for 10 minutes.
  4. Sprinkle a baking stone (here's the baking stone I use) or an ungreased baking sheet with cornmeal and set aside.
  5. Carefully transfer bagels to pot of boiling water. Boil for 1 minute, turning halfway through. Drain briefly on clean towel. 
  6. Once drained, arrange boiled bagels on baking stone with cornmeal. Glaze tops with egg white, and sprinkle with your choice of other toppings.
  7. Bake in preheated 375-degree F oven for 20 to 25 minutes, until golden.
 P.S. If you are new to this blog, thank you so much for stopping by! You can feel free to browse all my other posts about my journey toward a lifestyle of simplicity and DIY, as well as some of the ways my husband and I are learning to save money. I also write about my faith, my marriage and everything in between, which you can explore in the archives.

If you like this recipe, click here to pin it to Pinterest. You can also follow me on Pinterest here. 
    Related Posts
    A Love-Hate Relationship with my Bread Maker
    Misadventures in Cooking: From "Polenta" to "Placenta"

    READ FULL POST >>
    Previous Post
    Related Posts Plugin for WordPress, Blogger...