
I planted my container vegetable garden in late April, and now that we’re halfway into July, it’s starting—slowly—to bear fruit, er, vegetables. But the process has not been without its disappointments.
For instance, I started off with a container each planted with lettuce, green bean, carrot, spinach and cucumber seeds. (Here's a glimpse at how they were each doing after one month.)
From the very beginning it was clear that the spinach was not a team-player. The others were sprouting up and unfurling their leaves while the spinach, soon nicknamed Mr. Grumps, came up with his arms folded, bent on not sharing any of his foliage. I managed to get a couple of good leaves off him before he completely gave up and the stems turned spindly and useless.
I decided I wasn’t cut out for spinach gardening and instead started that container over with some pepper seeds, which seem to be doing pretty well so far, as you can see in this photo of the new kids on the block:

The lettuce was growing like gang-busters at first, and we got about five tasty, homegrown salads out of the pot. Then a series of huge storms (including hail) came through and crushed all the remaining lettuce leaves. (Fortunately, I’d recently gone through and cut off most of the bigger leaves, so the destruction didn’t do as much damage as it could have.) I thought they’d bounce back, but after a couple of weeks, it was apparent they wouldn’t. I planted some new seeds, which did shoot up…only to be devoured by some unknown herbivore, which you can kind of see in the photo below. (The lettuce remnants are the purple-ish stalks, all the leaves were chewed away.) Maybe I'm not cut out for lettuce gardening either?

But things weren’t all gloom-and-doom.
The beans got off to a great start, growing and flowering quite quickly. I’ve managed to get a couple handfuls of beans off the bush and throw into stirfries. I read online that you shouldn’t let the beans “split” while they’re still on the plant, so the only ones that are left on here right now are tiny ones like these:

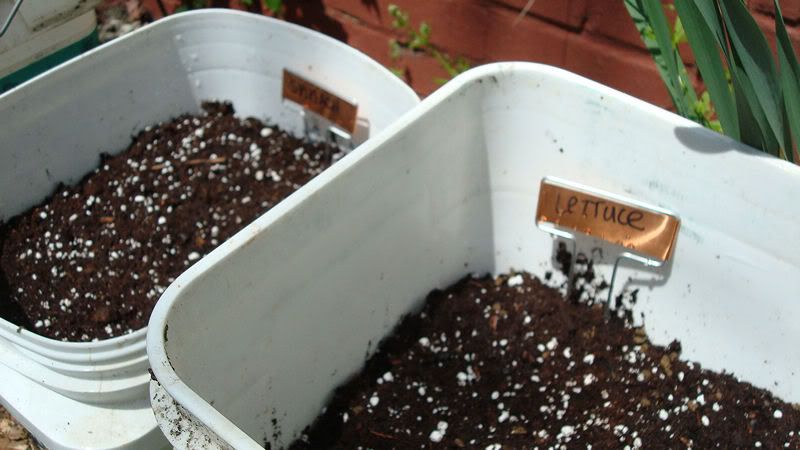
Because this plant did so well, I decided to plant another set of bean seeds:

The cucumbers are another source of delight. They have grown full and bushy, sprouting pretty yellow flowers that are just now starting to morph into what will hopefully become full-grown cucumbers:

Isn’t it such a neat process to watch?!
The last of the plants is the baby carrots. They’ve got lots of greenery springing from the ground, but I’m not quite sure how they carrots themselves are growing, since they're (ya know) hidden undergound. From what I’ve read, you know they’re ready to harvest when you can see the orange tops of the carrots pushing through the dirt. No sign of those yet, but my fingers are crossed.

How's your garden growing?
Related Posts
Starting a Container Vegetable Garden
How My Garden is Growing After A Month
READ FULL POST >>
For instance, I started off with a container each planted with lettuce, green bean, carrot, spinach and cucumber seeds. (Here's a glimpse at how they were each doing after one month.)
From the very beginning it was clear that the spinach was not a team-player. The others were sprouting up and unfurling their leaves while the spinach, soon nicknamed Mr. Grumps, came up with his arms folded, bent on not sharing any of his foliage. I managed to get a couple of good leaves off him before he completely gave up and the stems turned spindly and useless.
I decided I wasn’t cut out for spinach gardening and instead started that container over with some pepper seeds, which seem to be doing pretty well so far, as you can see in this photo of the new kids on the block:
The lettuce was growing like gang-busters at first, and we got about five tasty, homegrown salads out of the pot. Then a series of huge storms (including hail) came through and crushed all the remaining lettuce leaves. (Fortunately, I’d recently gone through and cut off most of the bigger leaves, so the destruction didn’t do as much damage as it could have.) I thought they’d bounce back, but after a couple of weeks, it was apparent they wouldn’t. I planted some new seeds, which did shoot up…only to be devoured by some unknown herbivore, which you can kind of see in the photo below. (The lettuce remnants are the purple-ish stalks, all the leaves were chewed away.) Maybe I'm not cut out for lettuce gardening either?
But things weren’t all gloom-and-doom.
The beans got off to a great start, growing and flowering quite quickly. I’ve managed to get a couple handfuls of beans off the bush and throw into stirfries. I read online that you shouldn’t let the beans “split” while they’re still on the plant, so the only ones that are left on here right now are tiny ones like these:
Because this plant did so well, I decided to plant another set of bean seeds:
The cucumbers are another source of delight. They have grown full and bushy, sprouting pretty yellow flowers that are just now starting to morph into what will hopefully become full-grown cucumbers:
Isn’t it such a neat process to watch?!
The last of the plants is the baby carrots. They’ve got lots of greenery springing from the ground, but I’m not quite sure how they carrots themselves are growing, since they're (ya know) hidden undergound. From what I’ve read, you know they’re ready to harvest when you can see the orange tops of the carrots pushing through the dirt. No sign of those yet, but my fingers are crossed.
How's your garden growing?
Related Posts
Starting a Container Vegetable Garden
How My Garden is Growing After A Month
Join us for Gratituesday at Heavenly Homemakers and linked up with Homemaking Link-Up