

This tutorial is pretty simple, simply measuring, pinning and sewing a straight line. I've seen (and tried) much more complicated tutorials for hemming jeans (including keeping the original hem in place) but I was never satisfied with those. (The one for keeping the original hem in place? It looked great...until I washed the jeans and then it was always too wonky, so I never wear them anymore.)
Like they say, less really is more, sometimes.
So, without further ado, the latest tutorial in the Make the Most of Your Wardrobe series (and you can check out all the tutorials here if you've missed any).
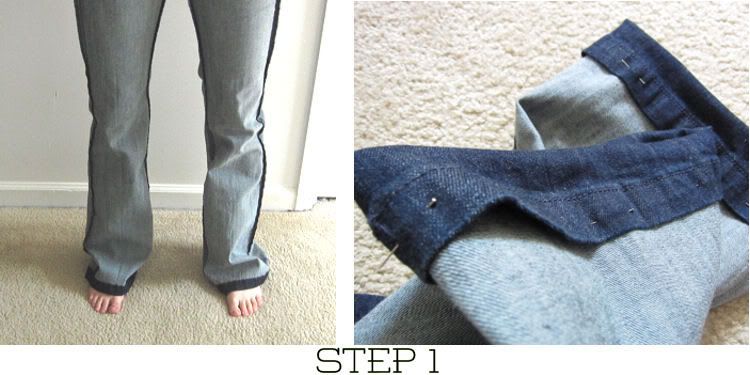
Step 1} The first thing you'll need to do is turn your pants inside out. Then, try them on and fold them up (just once) at the point where you'd like the new hem to hit. Pin them in place. Make sure to keep the cuffs even and straight on both sides.
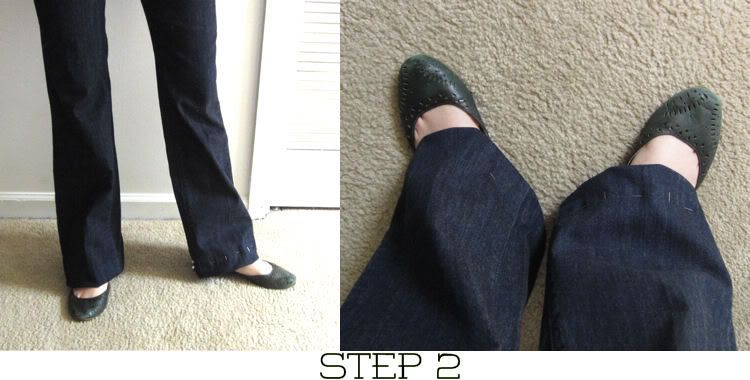
Step 2} I am a big believer in double-checking your work (always served me well in math class, too!), so I'd recommend turning the jeans right-side-out and trying them on to make sure that you're happy with the hem placement, being sure not to poke yourself on the pins. If the hems aren't lined up or don't hit exactly where you want, take the time now to remove the pins and go back to step one, tweaking until you get it looking just right. Your patience and persistence will pay off in the end! Once you're ready, turn the pants inside out and get ready to start sewing!
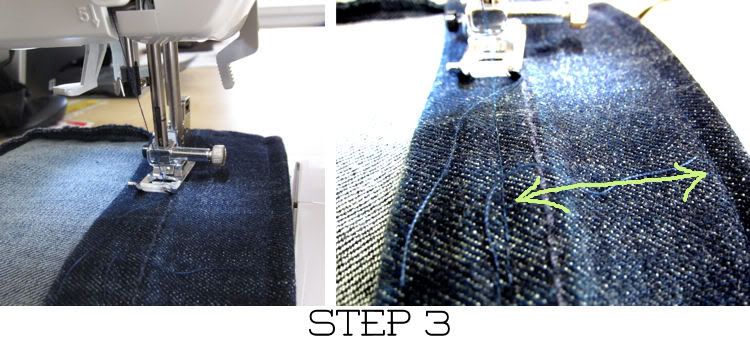
Step 3} One of the key elements to a successful hem job is using thread that matches your pants as close to perfectly as possible. You want the thread to disappear into the fabric and barely be noticeable. Compare a variety of thread colors until you find the closest match!
With that in place, set up your sewing machine. (Here’s a newer version of the sewing machine I have. It’s computerized so it makes everything so much easier!)
Starting at one of the edges where the front and back of the pants meet, sew a straight line either just above or just below the original bottom of the hem. (In the pictures above, you can see that I sewed just above the original hem, but your original hem might be skinnier, in which case I'd recommend sewing a new line just below that.)
Because my new hem was pretty wide, I also sewed a second line about a quarter of inch from the bottom of the new hem. (Visible in the right-most stitching in the photos above.) I did this just to ensure that the new hem would lay flat and crisp. If you're only hemming your pants a little bit, this isn't necessary and is purely optional.

Step 4} Turn your pants right-side-out and check out how you did on your hemming job. If you aren't happy with how they turned out, you can always use a seamripper and carefully pull the stitches out and start over. It might be time-consuming, but it's worth it to get it right!
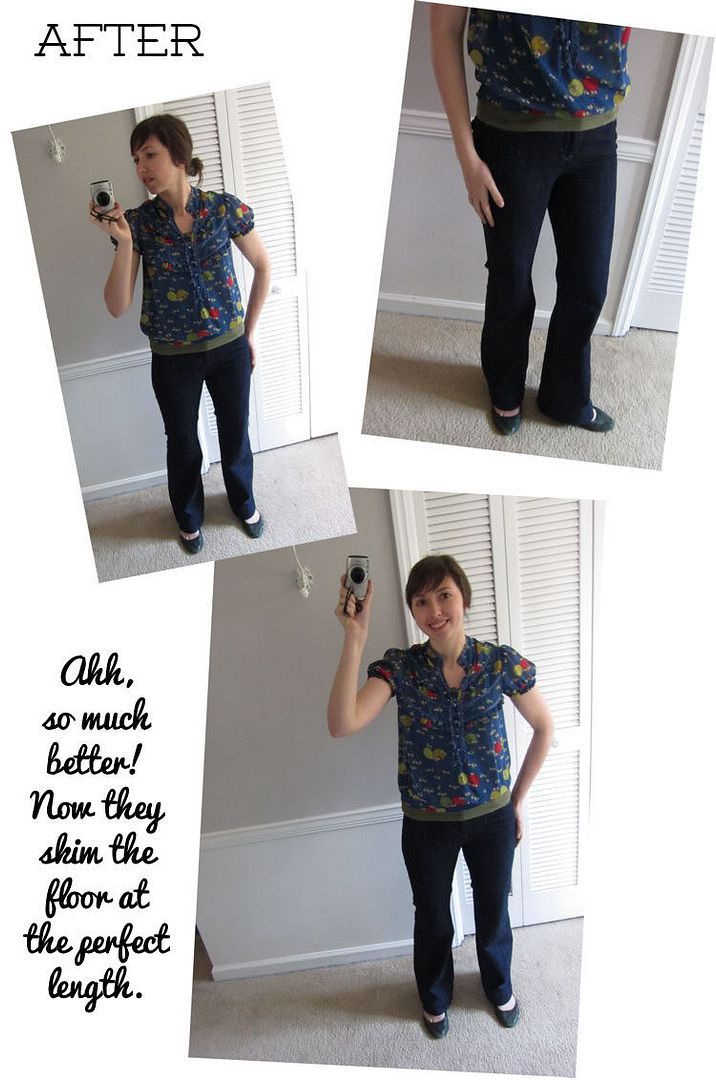
Finally, admire your new jeans! If you like this tutorial, you can bookmark it on Pinterest. You can also follow me on Pinterest here.

If you like this recipe, click here to pin it to Pinterest. You can also follow me on Pinterest here.
Related Posts
I've got a sewing itch that needs scratching...
Shopping My Closet for Crafts


This makes me wish I could sew! lol Yours look GREAT, though!
ReplyDeleteAh, I bet you *can* sew, Kristin! It can be scary the first time but it's a lot easier than it looks! I promise :)
DeleteWell done!! I love this tutorial, but guess what? I am going to try it using a big needle...difficult and tricky considering jeans is a 'tough' material but I will try and give you the feedback!
ReplyDeleteGreat! That's probably a good idea if your jean material is thicker. I just used a standard size needle and didn't have any problems. Let me know how yours goes!
DeleteBut why such a wide hem? How do you do it so that they keep the original look? Do you have to cut?
ReplyDeleteWendy
I chose a wide him to give my jeans more of a trouser look, however you can make the width of them fit your personal style preferences. I would recommend not cutting away the extra fabric if possible, so that you don't have to worry about fraying.
DeleteHave you ever sewn back the original hem on your jeans. Some jeans just have the best worn in look already and being a shorty my mom would always sew a new hem and being a kid I always hated have a "fresh" hem where it looked all new. It didn't have that worn in look any longer. Now that I'm a bit older and jeans are dark wash it's not so obvious but I'd love to take a shot at sewing on the original hem back. I've had a tailor do it and have been happy, except for the $18 charge:( Would love to try it on my own. Any helpful tips?
ReplyDeleteI have tried sewing the original hem back on once and it did NOT work well. It looked great at first but as soon as I washed it, it was a mess and would not lay flat again, even with ironing. Needless to say, I haven't really worn those jeans yet. I'm not sure how the seamstress does it so that they're like "normal" but I haven't found a tutorial to work that well yet :/ So that's why I just stitch a new hem. But if you do find one that works without messing up after being washed, please let me know!
DeleteJust a note.....if the jeans are new, you might want to wash them first to make sure they don't shrink! I got this advice from a friend who is a fashion designer 8-)
ReplyDeleteAbsolutely! Good reminder to point out. Thanks!
DeleteIf you shorten your trousers and replace the hem with the double-fold hem, the seam lines can be very hard to sew through. Try using a hammer to 'beat' the seams after you fold up the hem to make them softer and easier to sew through. If you have a heavy duty/jeans needle, that will help; also hand turning the wheel when you cross the seamlines will also help.
ReplyDelete