

My husband and I are both big read-before-bedtime folks, with a stack of books on both sets of nightstands. But hoisting lamps onto the nightstands to aid that nightly routine has proved more bulky than I liked, with much of the nightstand taken up with the lamp base instead of books. To free up some space, I'd long wanted to mount some wall lamps to either side of our bed.
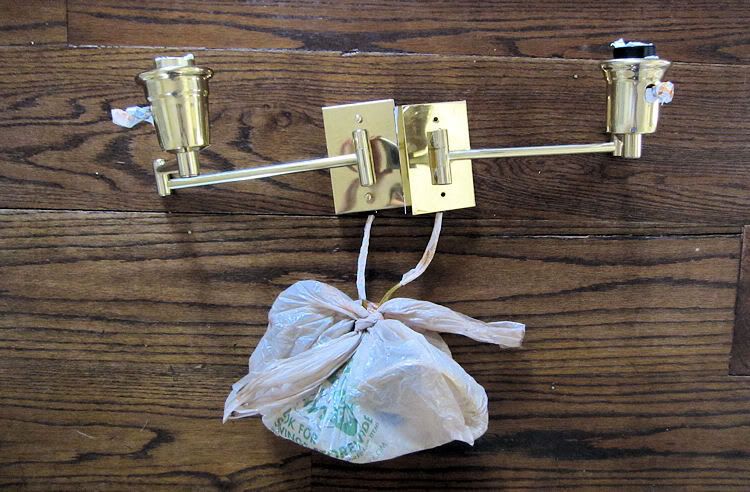
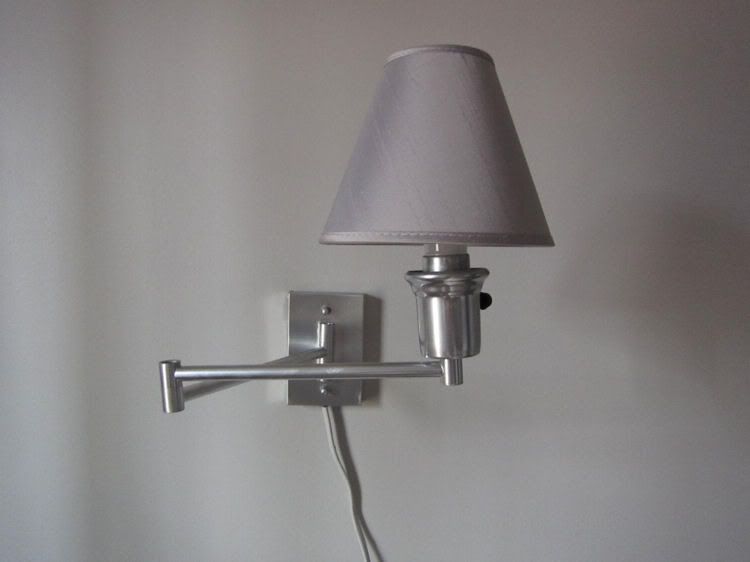
One day, as I was strolling a thrift store, I came across a brass, plug-in, spring-arm lamp, which reminds me of the kind you see in hotels. I knew those kinds of lamps often show up at secondhand stores, so I grabbed that one up (after testing it to make sure it worked, of course!) and trusted that I'd be able to find a second one to make a pair.
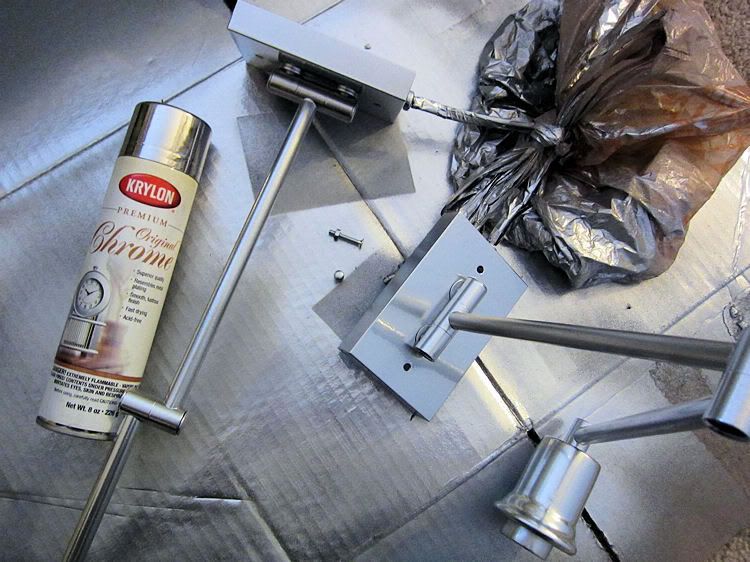
A couple of months later, I had my pair. But gold is not my decorating color of choice, so I turned to one of my tried-and-true decorating accomplices: a can of spraypaint. For this project, I used Krylon's Premium Original Chrome, which they sent me to try out for this project. I taped up the lamps' cords and light switch, stuffed the light socket and other open areas with tissues to protect them all from the paint.
Then it was time to get painting.
I know there are lots of metallic paints out there and I've tried my fair share, which often end up being disappointing imitations of silver, more gray or glittery than bright and shiny. But the chrome from Krylon was the exception; with the first coat it was a bright silver that I was going after for this project:
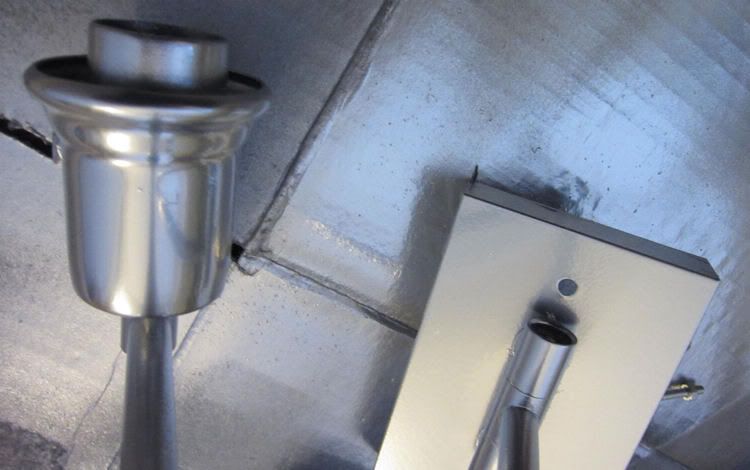
The paint when on smoothly, but I did find that it took it a long time to cure or else it would easily show smudges and fingerprints, ruining the finish. While the can itself recommends just a few hours to dry, I looked online and found other folks had to give their projects weeks. (Given that, I'd recommend only using it on projects that won't have to withstand much direct touching. Fortunately, we don't do much re-adjusting of the lamp arms and only have to turn the knob, so it works fine for us.)
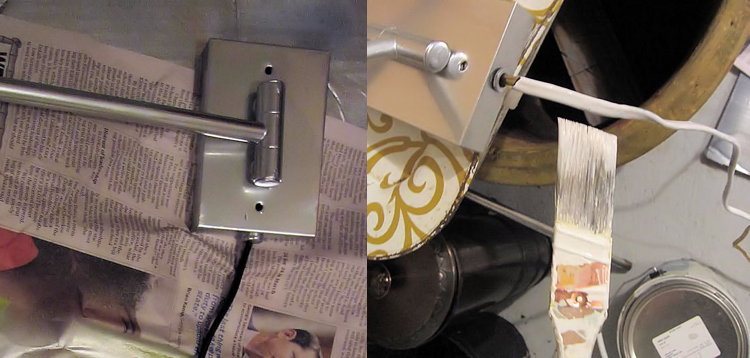
Even with the lamps themselves painted, there was also the pesky issue of the cords. I liked that they plugged in because then we didn't have to worry about drilling into walls and hiring an electrician and all that. But those garish yellow cords did nothing for our decor. So, I decided to cover them up.
I did some research about whether you could safely paint the cords themselves and came up with conflicting information. So I decided to play it safe and wrapped them with some black electrician's tape and then painted that with the same color of paint that we used on the walls, a gray color from Mythic Paint. (You can read more about painting our bedroom walls and the exact color we used here.)
The nice thing about this safer-than-sorry solution, is that if I ever want to go back to the original color (doubtful, but you never know), all I have to do is peel the tape away and so goes the paint, no harm done!
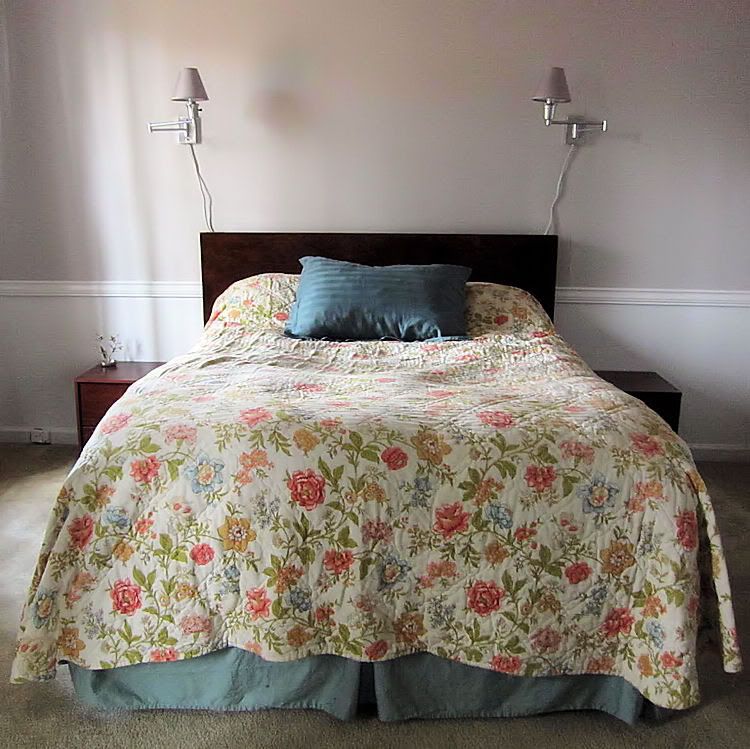
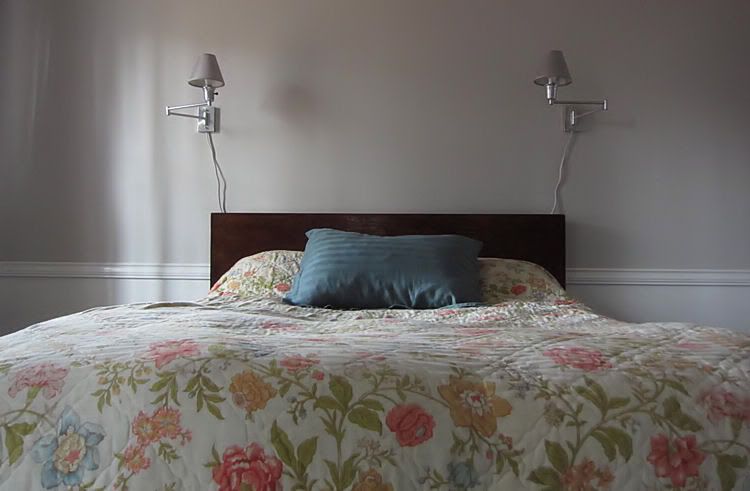
At that point, it was time to mount them on the walls and put on some lamp shades. As it turns out, my parents had some small sconce shades in their basement, which they let me have when I was in town over Christmas. Can you believe how perfectly they match our wall color?! Oh, serendipity:
I still have yet to figure out what kind of art I want to put over our bed, but, as usual, I'm taking my time to find (or make!) the piece that's just right for this spot, which now sits squarely between these fully functional and perfectly matching lamps that are a piece of work in and of themselves. Don't you think?:

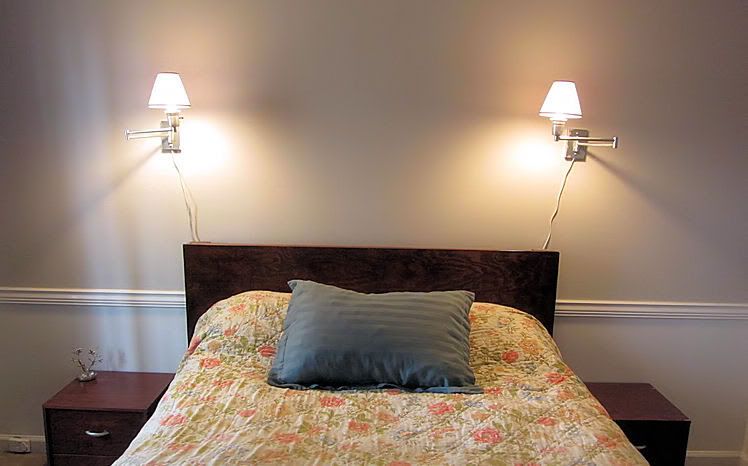
And a shot with the lights turned on:
Find out more about Krylon’s huge variety of spray paints—there’s one for nearly all your craft and DIY needs—by visiting their website. You can also like them on Facebook or follow them on Twitter.
Related Posts
We Finished Painting the Bedroom!
The search for the perfect artwork


Hey Carmen! I'm really enjoying all of the crafty posts you've added recently. I'm always wondering how to paint things with spray paint -- it kind of scares me, ha -- so I'm glad you posted this. It looks super simple, but dang it makes it a difference, right?
ReplyDeleteDo not be afraid of spraypaint!! It is one of my favorite tools EVER. I think I probably rely on it too much sometimes, actually. Oh well, I'm fine with that :)
ReplyDeleteHi Carmen, I just found your site (don't ask me how, yesterday was a blur of blog hops and BlogHer posts). I wanted to first say that I thoroughly enjoyed the few posts I've read and am now your ardent follower.
ReplyDeleteThe transformation from the old dingy brass to the new chrome is amazing! This motivates me to do a few DIYs I've been toying with the idea of, for quite some time... Dunno if it's a good thing :)
I like it!
ReplyDeleteI too, love your DIY posts. Your home is really coming together!
ReplyDeleteI'm big on reading before bed too. It's nice to have lights that are easily accessible from the bed :) They look great, too!
Thanks, ladies! I'm so glad you're enjoying these DIY posts of late. Expect more to come :) This house proves to be endless inspiration for me!!
ReplyDeleteI really need to change the lightings of my bedroom to see the change... For that matter I never gave a thought to it.Quality Beds and Mattresses
ReplyDeleteThis comment has been removed by the author.
ReplyDeleteyou did a great job , m really impressed.beds and mattresses for online sale
ReplyDelete