

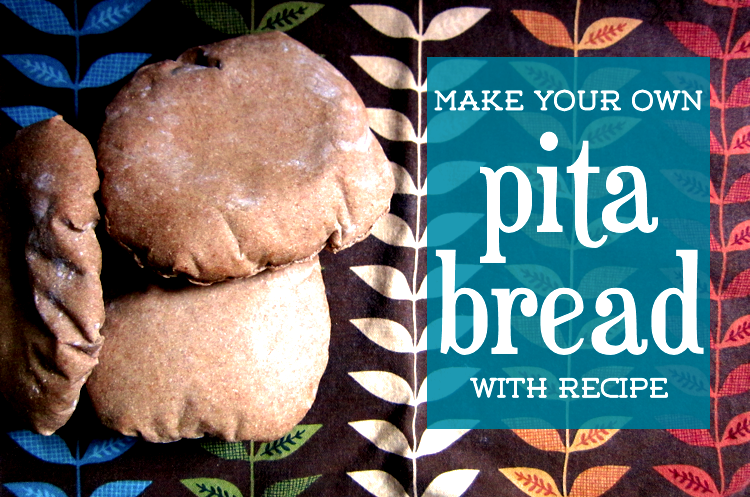
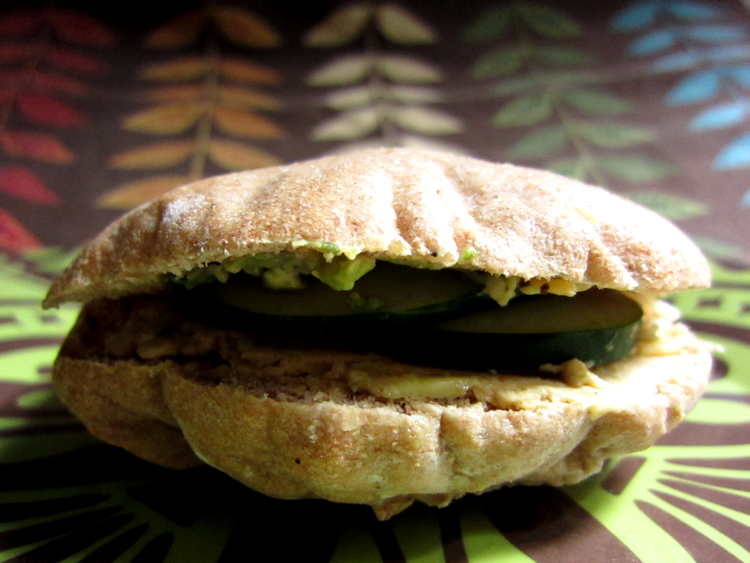
For some reason, making lunch in a homemade pita pocket just makes a sandwich feel a little fancier. I'm a firm believer that you can never go wrong with a sandwich, which is why I quickly added learning how to make pitas to my arsenal of bread-making.
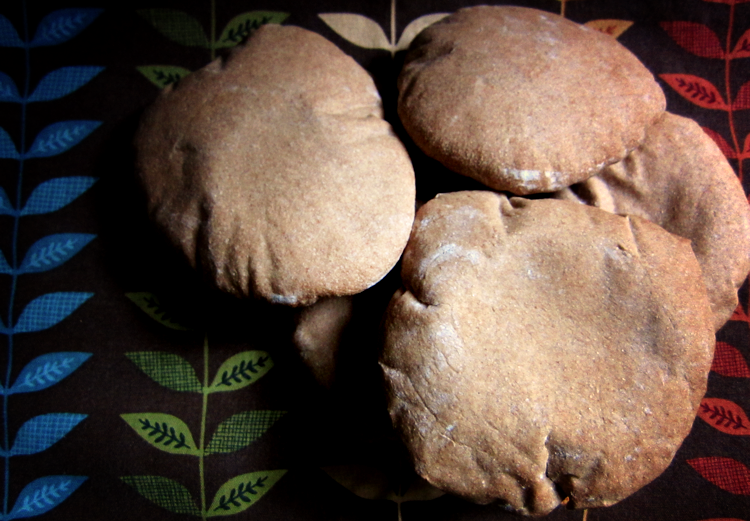
Making pitas feels a bit like a science experiment, because part of it involves watching the pitas puff up with steam in the oven and then pitching them into a brown-paper bag to cool. I don't exactly know why it works, but I know that it does work. And that's all that really matters when I'm smearing some homemade hummus and trimmings onto my freshly baked whole-wheat pita bread.
Like my other bread-making recipes (for making whole-wheat sandwich bread and bagels), this one involves using a bread machine, which I think is one of the most oft-used tools in my kitchen. I can't recommend getting one enough!
Homemade Whole Wheat Pita Bread Recipe
Ingredients
1⅛ cups warm water
1 tablespoon oil
1½ teaspoons sugar
1 teaspoon salt
3 cups whole wheat flour
1½ teaspoons bread machine yeast
Instructions
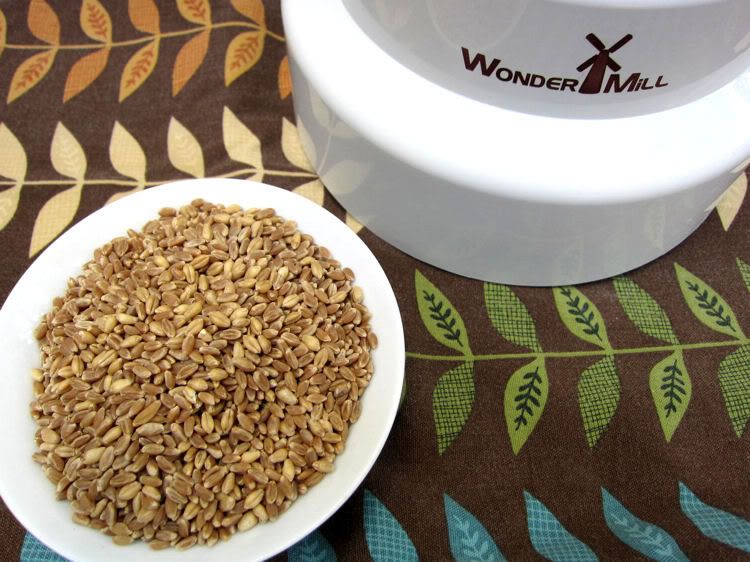
- I have been grinding my own fresh flour using the electric WonderMill Grain Mill. For fresh-ground flour, use 1 cup hard winter red wheat berries and 1 cup hard winter white wheat berries (shown below) and grind to a fine flour suitable for bread-making. (Note that two cups of grains will grind up to three cups of flour.)
- In your bread machine (mine is similar to this one), add ingredients from the water to the flour, in the order given in the recipe. (So, you'll add the water first and the wheat flour last.)
- Once you've added the last of the flour, use a spoon to hollow out a little dent in the middle of the flour. Into this, add your yeast.
- Program your bread machine on the "Dough" cycle. Press Start.
- Let the bread machine mix the dough and go through the rising cycle. At the end, it will beep.
- Remove the dough from the pan, and turn out onto lightly floured countertop, stretching into a log-shape (like that of a large hot dog) that's about 12 inches or so in length. Try to make the log the same thickness all the way around.
- Cut the log into 8 equal-sized slices. (Usually, I'll cut it in half, and then divide each of those sections in half and then each of those in half again.)
- Lightly flour one or two cookie sheets, and set aside.
- Lightly flour your countertop. Then use a rolling pin to flatten each slice into a 6- or 7-inch disk, being careful not to tear or crease the dough, as this will cause them not to "puff" during baking. After you roll out each piece of dough, place onto the cookie sheet.
- Once all pieces of dough are flattened and arranged on the cookie sheets, cover them completely with dish cloths or tea towels, and let the dough rise for about 45 minutes to an hour. (At this point they will look ever-so-slightly puffy. You'll be able to tell when you pull them from the cookie sheet and the surface will look like it's "cracking" a little.)
- Preheat your oven to 500 degrees. Place two or three pitas onto a wire cake or cooling rack, and then place in the oven. Bake them for 4 to 5 minutes, once they are puffed and the tops are starting to turn brown. (Note: I've found that the wire rack is essential to getting the pitas to "puff up." If you don't have a rack, you can try using cookie or baking sheets, but they don't guarantee as good of results as the wire rack, or placing them directly on your oven's rack. Just be careful not to get burned!)
- Once they've puffed up and the tops are slightly browned, remove from the oven, and place them immediately in a brown-paper bag. Close the top of the bag using a clip.
- Continue to bake the remaining pieces of dough and placing them in the brown-paper bag once baked.
- Let them sit in the bag for about 30 to 60 minutes, until the pitas are soft. Then you can remove and store in your fridge for several days or you can freeze them for one or two months. Store in plastic bags or other containers you can seal.
P.S. If you are new to this blog, thank you so much for stopping by! You can feel free to browse all my other posts about my journey toward a lifestyle of simplicity and DIY, as well as some of the ways my husband and I are learning to save money. I also write about my faith, my marriage and everything in between, which you can explore in the archives.
Related Posts
Homemade Hummus Recipe
Recipe to Make Your Own Bagels


those sound good, i'll have to try them! i love a bunch of fresh veggies with hummus stuffed in a wrap, and I haven't had a pita pocket in ages and this sounds really good!
ReplyDeleteThanks, Kaitlin! They're really neat to make, even just as a science experiment. And definitely great to have around during the summer when it comes time to whipping up a quick picnic lunch!
DeleteCan't go wrong with home-made bread! Where did you get your table cloth? I just love it!
ReplyDeleteThanks! It's actually just a dish towel, not a whole table cloth, but it's from Target a couple years back.
DeleteI have tried to make pita pockets before and failed miserably. Several of your tips may explain why. I can't wait to try these. :)
ReplyDeleteI don't have a bread machine, but would love to try these! I mix my bread dough in my Kitchen Aid, so I'm assuming I can just mix up the dough, let is raise and then follow your directions from there. The only two questions I have are 1) is bread machine yeast equivalent to regular yeast- do I use the same amount? 2) How long is the raise on your bread machine so I know how long to raise the first time?
ReplyDelete