Basically, this is a sewing trick for how to fix any pairs of pants you have that, when you bend over or kneel down or even just sit down, slip down too low and end up creating “the plumber” effect that shows off the top of your underwear or worse.
It really is the unfortunate consequence of all the “low-rise” pants out there that sit low when you’re standing up straight but dip even lower if you move too much this way or that. Of course it can be hard to find decent pants that aren’t low-rise, so sometimes you just have to make do with what you have.
Hence, this tutorial which can help keep those low-rise jeans from riding down.
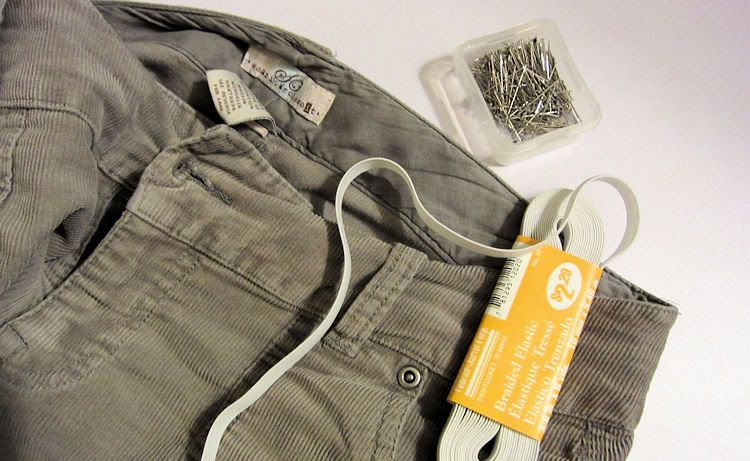
You’ll need your low-rise pants, a piece of wide braided elastic (mine was 3/8 inches wide, you can find the same size online here), thread that matches the color of your pants, sewing pins, and a sewing machine.
Start off by cutting a length of elastic that, when unstretched, will measure about half the width of your pants. Center and pin it into place along the interior of the back of the pants about every inch or so, keeping the elastic stretched out as you pin. (Note that while you need to stretch the elastic as you pin, there’s no need to stretch the pants as you pin.) When the elastic is not stretched, it will bunch up like this:
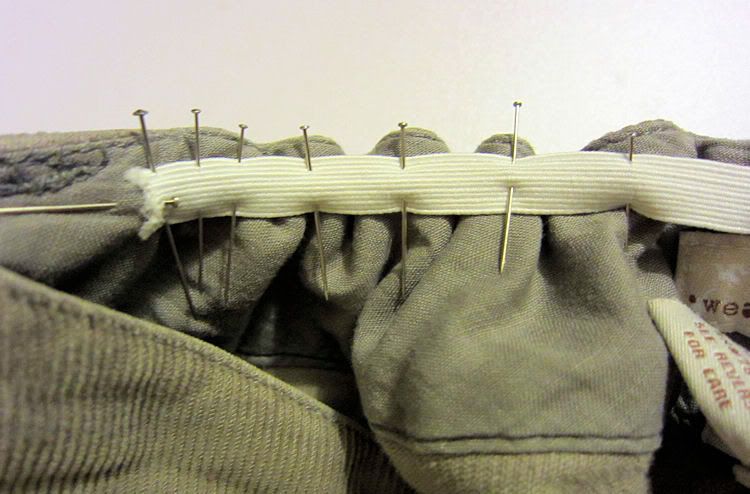
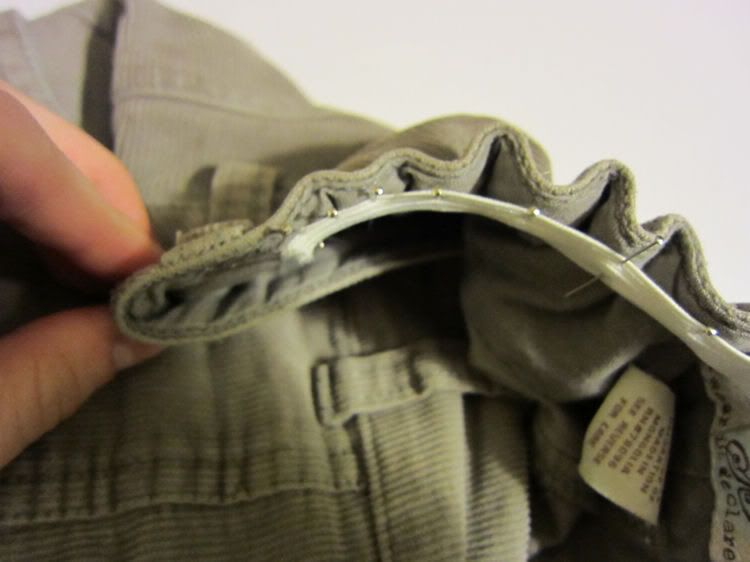
Once it’s pinned, you will sew it in place. (By the way, here’s a newer version of the sewing machine I use.) For mine, I used a white thread for the top-stitch (to match the elastic) and a gray thread for the bobbin (to match the shade of the pants). Just make sure that the thread you use on the bobbin matches the pants.
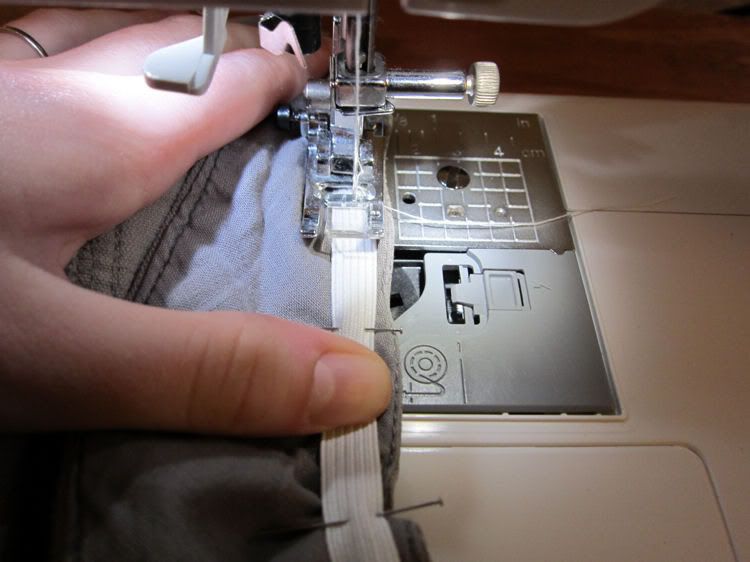
Make sure to use a stretch stitch, like a zigzag (see photo below). As you sew the elastic into place, make sure that it remains stretched out (see photo above). You might need to guide the pants through the sewing machine with one and use your other to keep the elastic pulled taut.
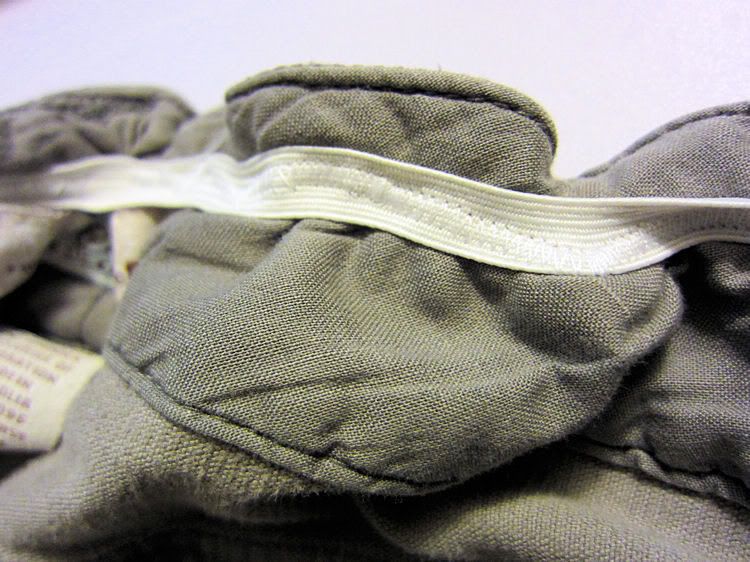
Note: If your pants have belt loops that the piece of elastic overlaps, don’t sew over the loop. Instead, sew as close to the edge of the loop as you can get and then stop. Then skip over the loop and start stitching again on the other side of the loop. This way, you can still wear a belt if you like!
Once you’ve completed sewing the elastic into place, you can cut the thread and remove the pants. Here’s what the pants will look once they’re completed, from the inside and outside:
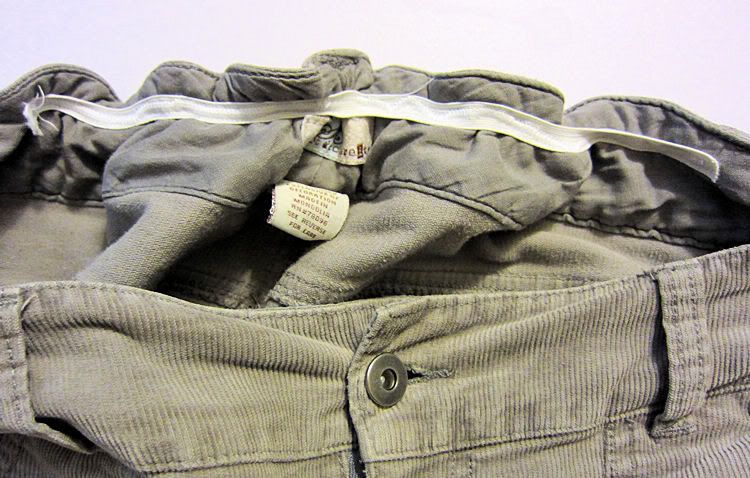
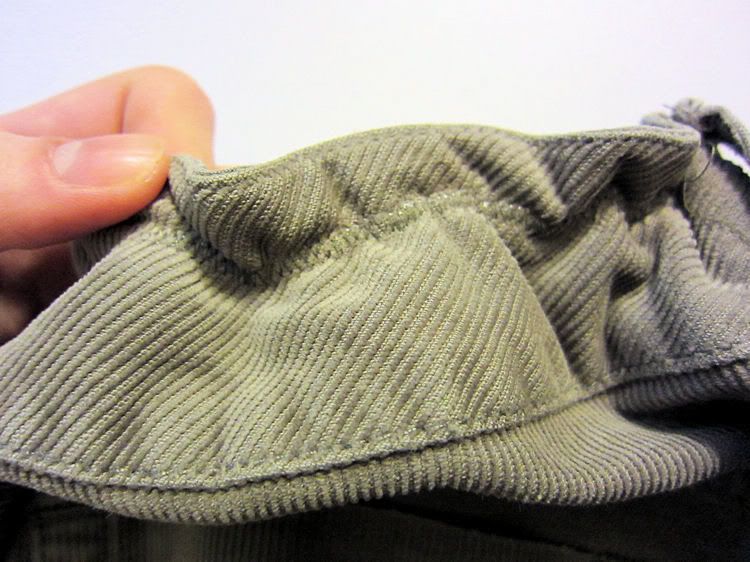
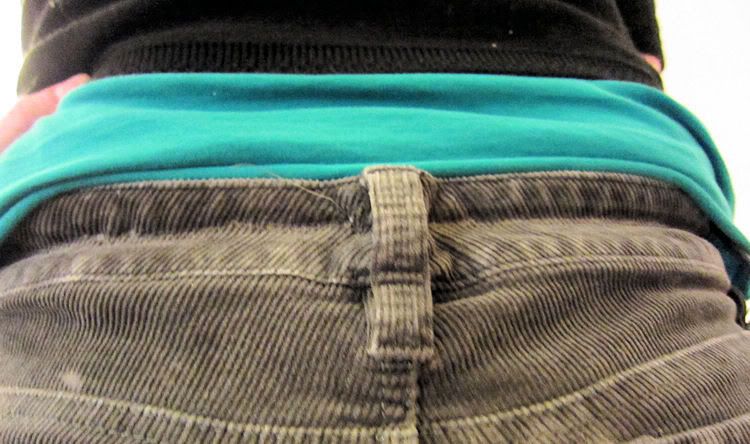
And that’s it! The elastic will act kind of like an invisible belt to help hold the pants closer against your back whenever you bend at the waist. Depending on how bad the “slippage” was before, the elastic may not completely eliminate the plumber effect, but will definitely make it a lot less extreme.
And, in case you've missed any, you can check out all the tutorials in the Make the Most of Your Wardrobe series here.
Related Posts
How to Fix a Low-Cut Top and Make the Most of Your Wardrobe
How to Hem Your Jeans to the Perfect Length
Bring Some New Life to Your Button-Up Shirts


Great idea! I will try this. Thank you!
ReplyDelete