

Well, once I had the paint on the walls and the bed in position, I realized the room needed a bit more structure to make it feel like a dedicated guest bedroom rather than just an afterthought. So I got to thinking about headboards and headboard decorations.
I did a bunch of searching on Pinterest and tried out a couple of ideas that used art instead of a real headboard, but they just didn’t look right. It really needed a headboard to anchor the bed to the room.
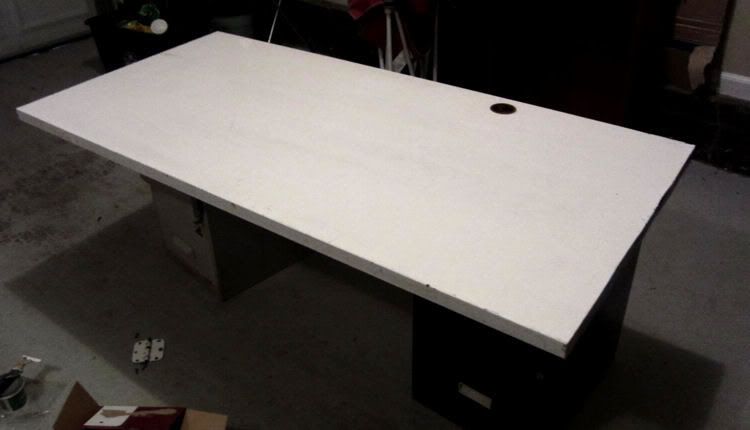
I had a couple of different options to choose from but ultimately decided to use an old interior door for the project. It’s one that used to be between the kitchen and the garage that we had replaced when we first moved in with a sturdier door (for fire-code and safety reasons). But, like any good crafter, I held on to the old door because I figured I could find some use for it!
Well, I did! I decided to cut it down to size with a jigsaw I bought a couple of months back. A jigsaw probably isn’t the perfect tool for this project—a circular saw would work better and create a straighter line, but circular saws are more expensive so I haven’t bought one of those yet. Instead, I used my jigsaw (this is the one I have) and it worked really well! You just have to keep a steady hand on it and guide it along, but I got a pretty straight cut that I'm happy with.
Since the door I used was a hollow-core door, I covered up the end where I’d cut with (yikes!) a long piece of duct tape that I glued over the opening. I know it’s not the most sturdy of solutions, but it’s on the end that backs into the corner of the room and I knew I could paint over the tape, so you can hardly tell it’s not solid beneath. You could always cut a piece of wood to size for a more durable solution, but I took the lazy way out! I didn’t worry about filling in the opening where the door knob had been, because I just planned on making sure the mattress covered it up sufficiently.
Here's how it was looking so far, cut down to size and with a good coat of white paint:
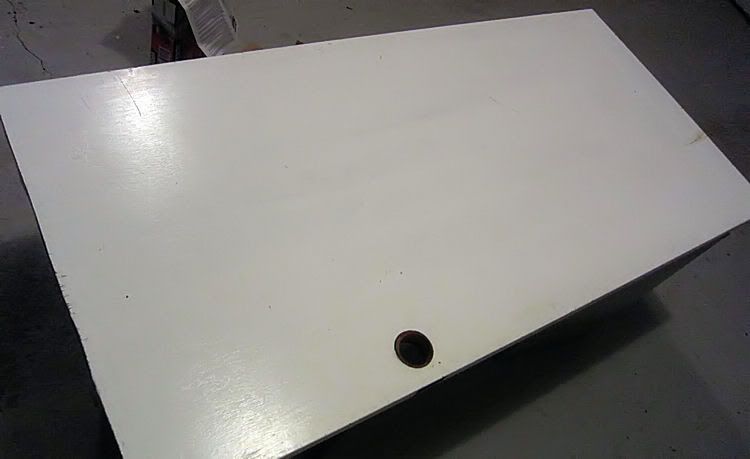
It definitely was starting to look more and more like a headboard. But when I hung it in place, I knew it was still missing something. It just looked kind of blah being completely white and with no artwork (as of yet) overhead. I decided it needed a little detailing to really make it look intentional.
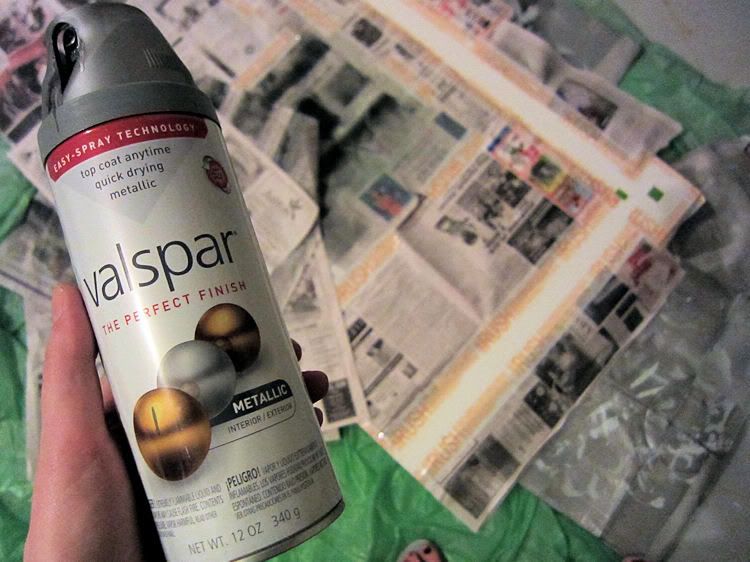
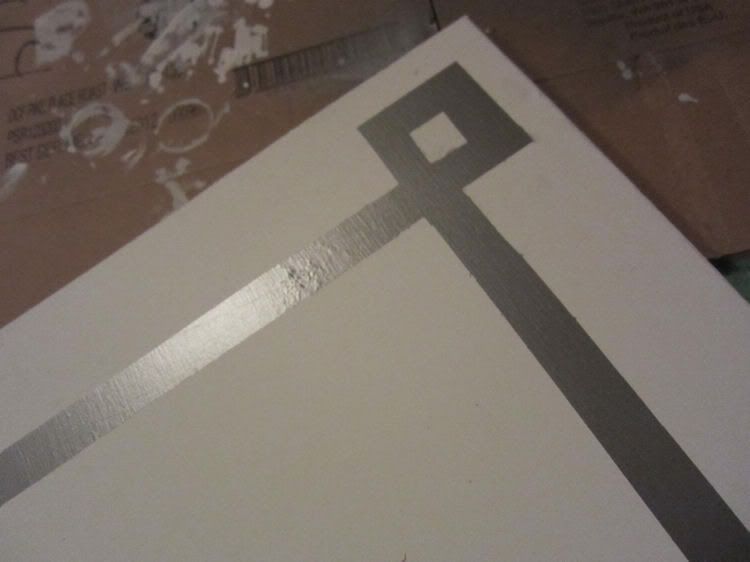
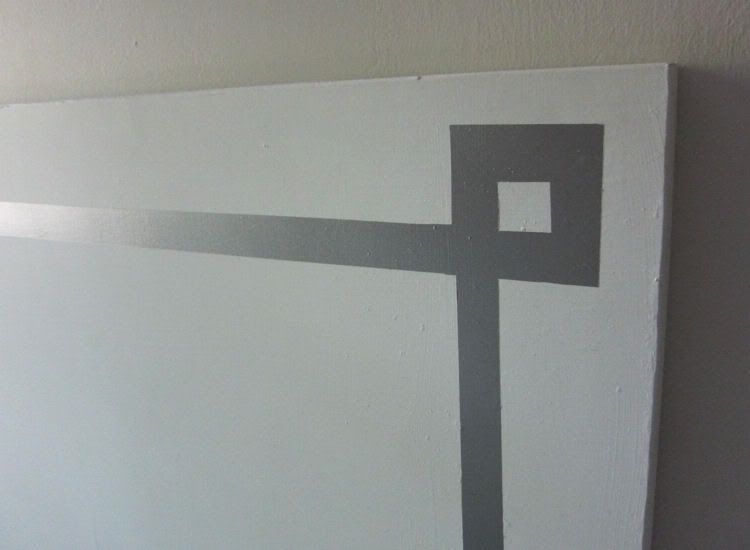
I’ve seen a ton of Greek key-inspired detailing and decided to try that out here by using some silver metallic spray paint from Valspar's Premium Enamel line that I received to try out.
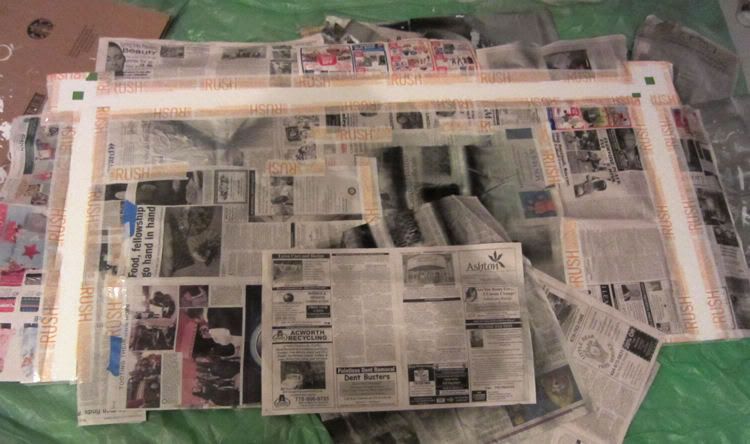
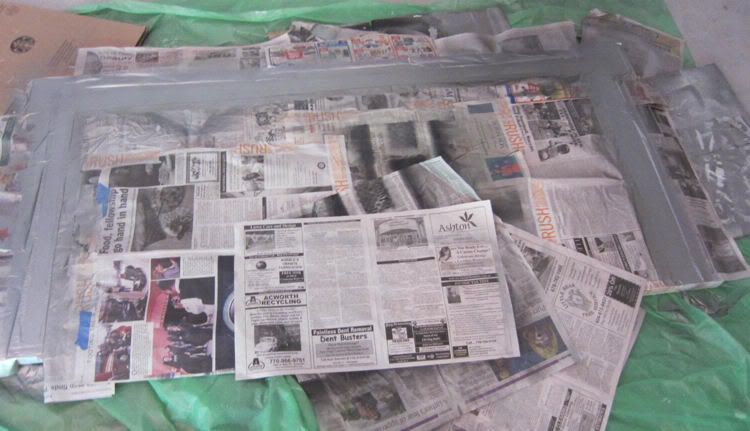
The really exacting part of the process is in the measuring and taping because you really want the lines to be precise and even. I decided on 1-inch lines and spent about an hour and a half meticulously sketching out a blueprint, taping them off and covering up the rest of the headboard with newspaper so that the spray paint would only cover the sections I wanted. If you try this, don’t skimp on this part! Have patience and take the time to measure with precision. (I just used cheap packing tape that I made sure didn’t peel off any paint.)
Once that’s all in place, I painted over the open areas with my Valspar premium enamel spray paint (in “Metallic Silver”), doing light coats, one at a time.
The nice thing about the premium enamel line of spray paint from Valspar is that you don’t have to wait an allotted time between coats—you can pretty much do one coat and then go back over it with a second, without worrying about botching the job. (I also liked that to use their spray paint, you don't have to remove the cap; it just slides to the side to open or close the nozzle; no more lost lids!)
In all, I did four light coats to make sure the silver was evenly coated across the board. I let it dry for an hour or so and then, carefully, peeled off the tape and the newspaper. Here’s what it looked like:
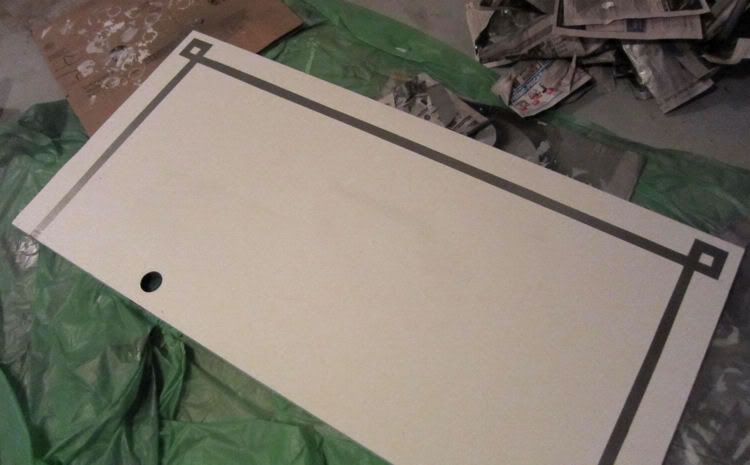
I was so ecstatic! All my measuring and taping off and spray painting paid off! I did a little touch-up painting with white on spots where I hadn’t pressed the tape down firmly enough or where pencil marks showed through, but that took all of ten minutes.
The next morning, I took my new headboard and hung it on the wall over the bed on some heavy-duty nails I’d hammered into wall studs. (To hang the door onto the nails, I used my electric drill to drill a hole in the back of the door the size of the nailhead, making sure the drill bit only went through the backside of the door and not through to the front.)
And here’s how the door-turned-headboard looks in our guest bedroom:
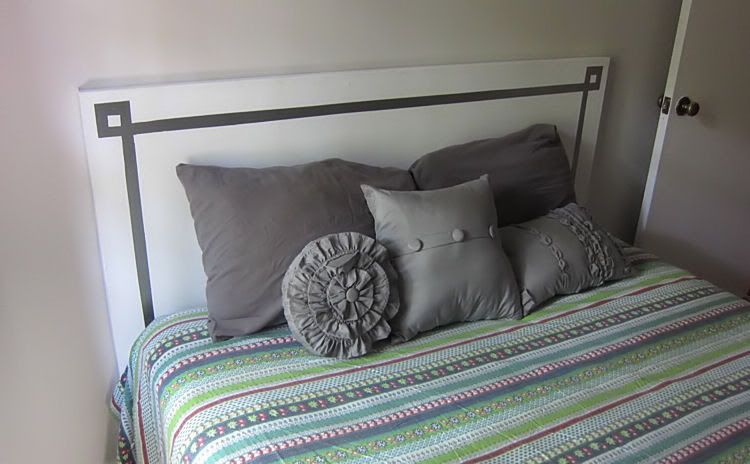
(Psst! Since I forgot to take a picture of the room with just the paint alone for the previous post, you can get a feel for the new wall color in these shots. You can read more about how I mixed it up myself here.)
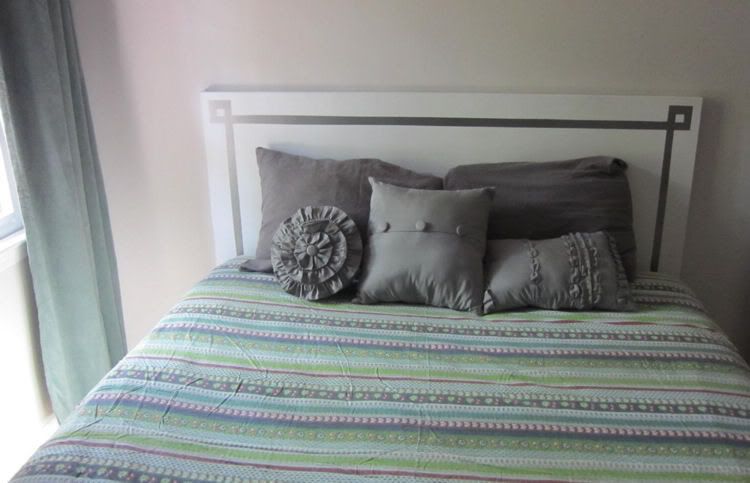
I love how the silver of the spray paint has a slight sparkle to it and how the grays of it play with the gray in the paint and the gray of the bedding. It really dresses up the headboard and the whole mood of the room!
Later this week, I’ll show off some more photos of the guest bedroom so you can get a fuller idea of how we’ve set this room up.
Find out more about Valspar's line of spray paints, as well as information about the spray paint I used, which you can find at Lowes. They also offer plenty of tips and how-to videos on spray painting, picking out the right product and more on their website. For more, follow them on Twitter or like them on Facebook.
Related Posts
Sprucing Up the Kitchen With a Fresh Coat of Paint
We Finished Painting the Bedroom!


I like it a lot! I'm in such a gray-phase right now- it's the perfect room!
ReplyDeleteThanks!
DeleteLooks great, Carmen! :)
ReplyDeleteThis idea is greeat
ReplyDeleteInstead of duct tape for future projects, maybe something like this edging would work.
ReplyDeletehttp://www.truevalue.com/product/White-Melamine-Iron-on-Edgebanding-2-Inch-x-8-Ft/33713.uts?keyword=melamine%20edging#activeTab0
I've seen it used to conceal and protect the unfinished edges of particle board shelves and it looked great!
Oh neat! I haven't used that stuff, but I bet it definitely could if you got it the right thickness. I'll have to look into that. I imagine there are tons of uses for it!
DeleteI like the idea for using an old door for a headboard. Yours came out nice!
ReplyDelete